

For some reason, the craft juices were just flowing from the time I came home home from the beach on Sunday through Monday night. The last time I linked up with Tara and 4th Grade Frolics for Monday Made It, it was pretty depressing. Not this time, though! (And I'm saving the best for last!) Let's get started!


I'm going to put these first two together because, honestly, they are not that big of a deal. But, they had to get done so here they are.


I decided to make myself new schedule cards this year to go with the added colors in my room. I couldn't help it. The old ones just did not go and they would have driven me nuts if I had to look at them all year.

This one was really an easy one - but it will be sooo helpful in my room. I was inspired by this pin

and knew I had to make one for my classroom. My kiddos LOVED looking at the monthly calendar in the morning to see what was coming up - now they can easily see what's going to be happening during the week.


Are you ready for the big one? I am so impressed with myself on this one!

The, I saw this fantastically creative idea from 2nd Grade Snickerdoodles
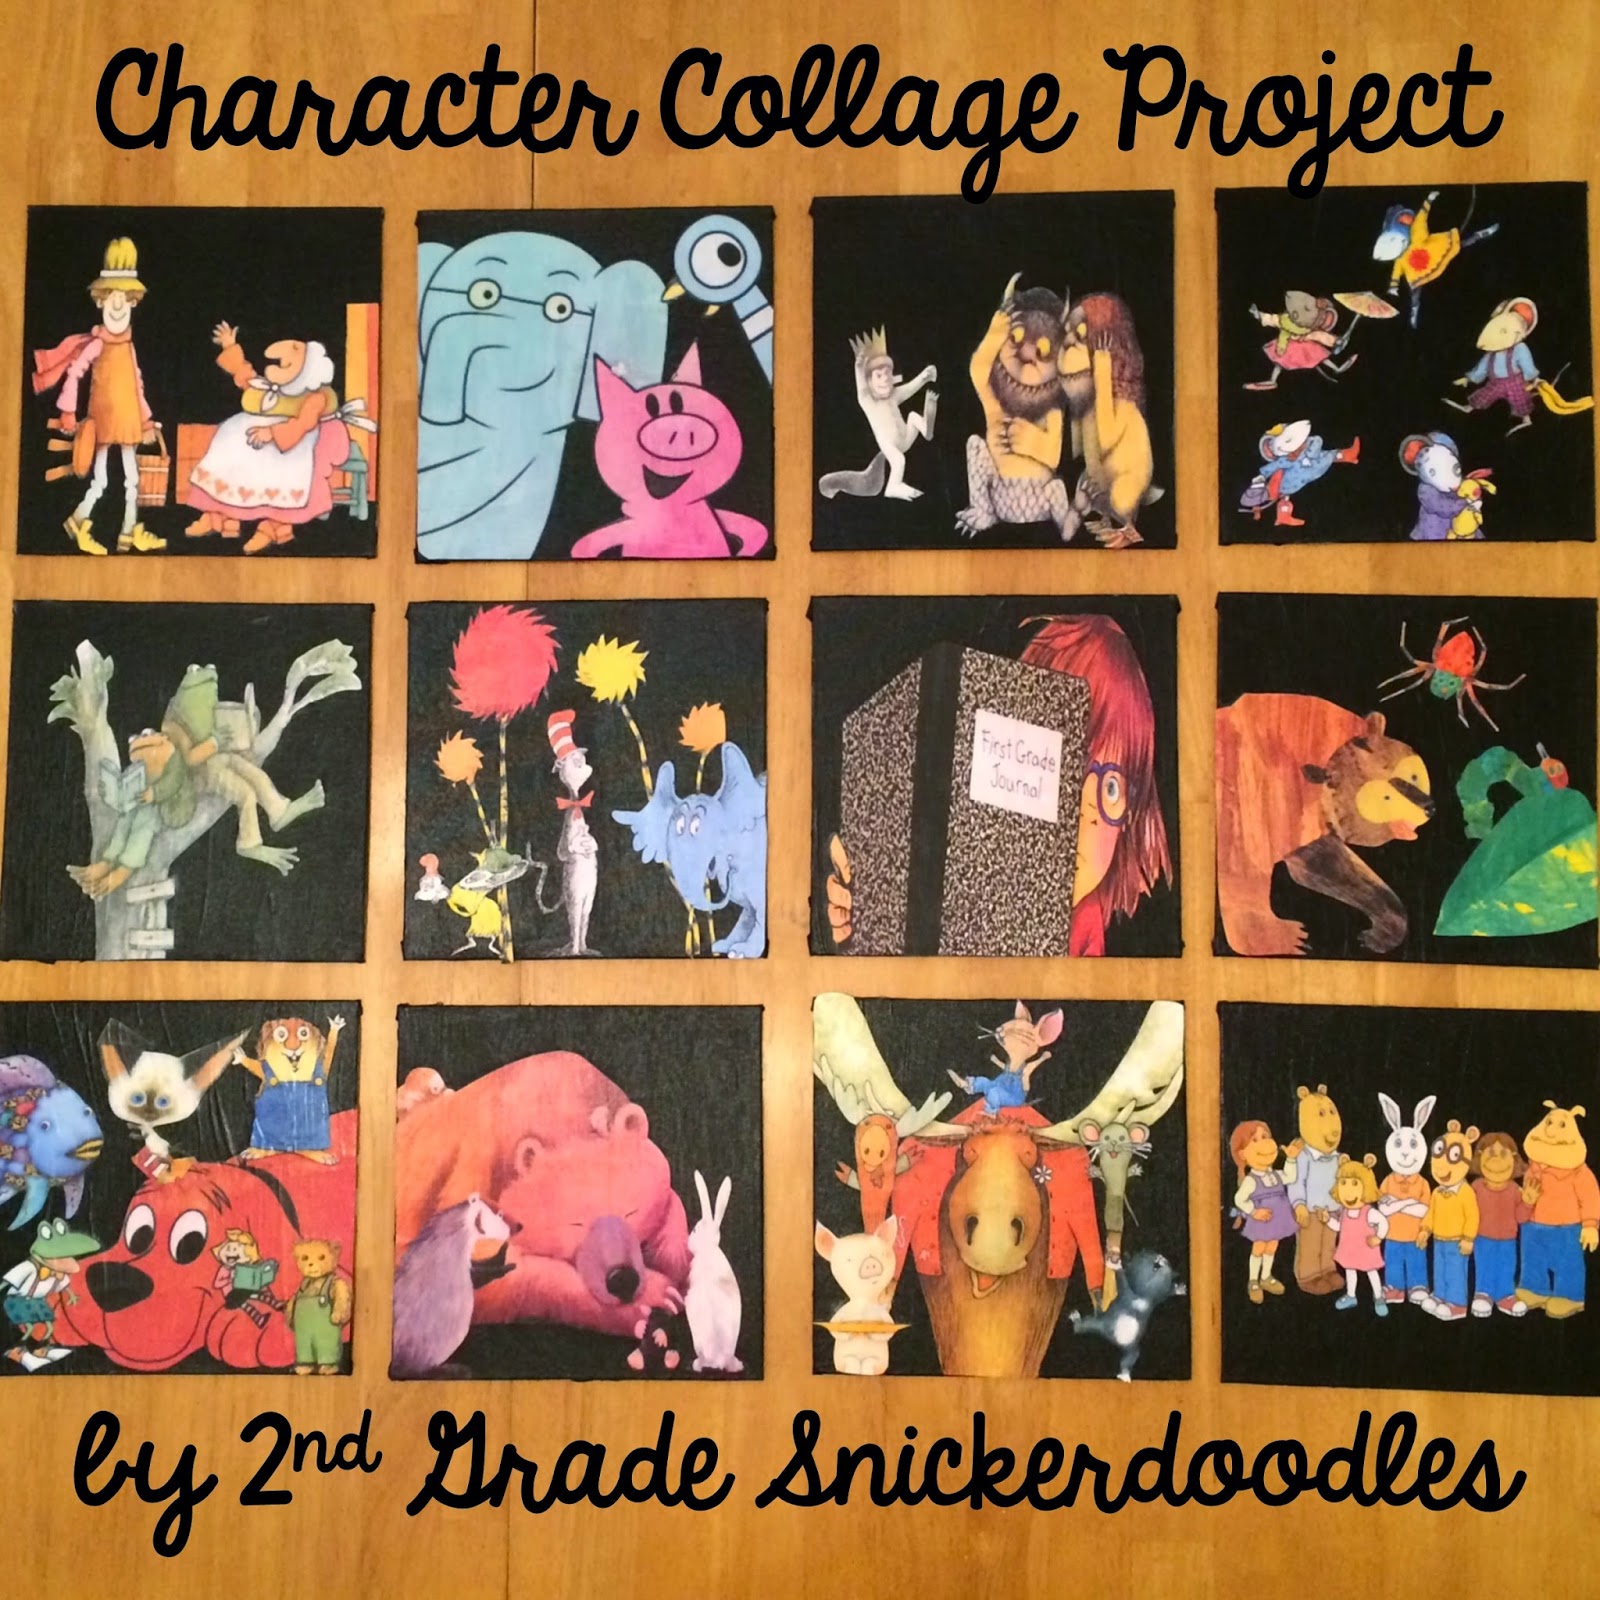
Now... there is NO way I was going to create anything as amazing as that...but.... how about this?

Step #1 Paint the canvases black. I put on two coats because the first one still showed some white when it dried.

Step #2 Cut out letters. I used my Silhouette Cameo so it was easy-easy. I made the letters fit an 8x10 frame, and had the Cameo cut them out. (Hard to see, but there is an "E" cut on there.)

Step #3 Modpodge the black canvases. Modpodge is your friend - use a lot. It goes on smoother when the brush is full.

Step #4 Brush modpodge on the back of the cut out letter and stick it to the canvas. It helps if you just put down one edge first then run your finger over the letter as the rest of it goes down. You get fewer bubbles that way.
Step #5 Now cover the whole thing in more modpodge. Run the brush in the direction of the letter s it doesn't tear. Smooth out the thick parts and let it dry.

Step #6 After they are dry, spray the canvases with a clear sealer.

There you go! I'm going to hang these (somehow) in the back of my room where the bags were. I'm not sure if I'm going to add a ribbon to hang the or not. I have to see when I go in and look at it.
Wow. That was Monday Made It at it's best. Tomorrow I'm off to school to put all this up and empty out everything I have been carrying around in my car for the last two weeks. I'm planning on taking LOTS of pictures so you can see what I will have been up to!


You've been so busy! They all look great! I love your weekly calendar idea.. it turned out lovely!
ReplyDeleteKelli
I LOVE your Second Grade sign!! You've really done alot! My Monday Made It was only one thing...but I'm sure I'll have more coming. I think you did great!!!
ReplyDeleteYour students are going to be so excited when they walk in and see your room! :)
ReplyDeleteJan